SCC Faculty Directory User Guide
The SCC Faculty Directory is designed so that faculty can update information on their faculty pages. Use this guide to update your directory profile page, including your bio, professional photo, location, office hours, and course syllabus. You can only edit your own profile information — no other pages will be affected. The information you enter will be visible to students and the public.
Login Steps
Log in to your employee email. To avoid issues, make sure you are not logged into your personal Gmail or a school Gmail account in the same browser.
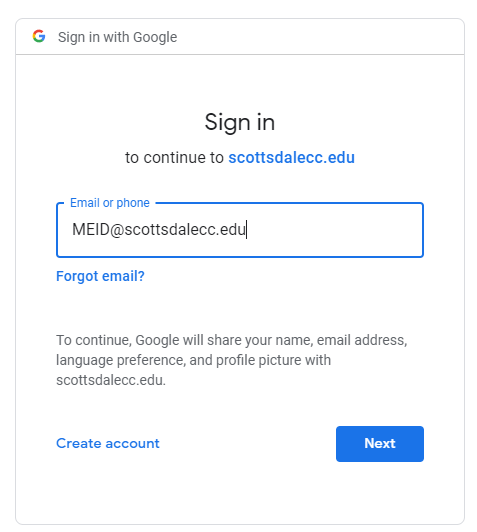
- Sign in to accounts.maricopa.edu
- Enter your meid@scottsdalecc.edu email
- Click Next, and enter your password
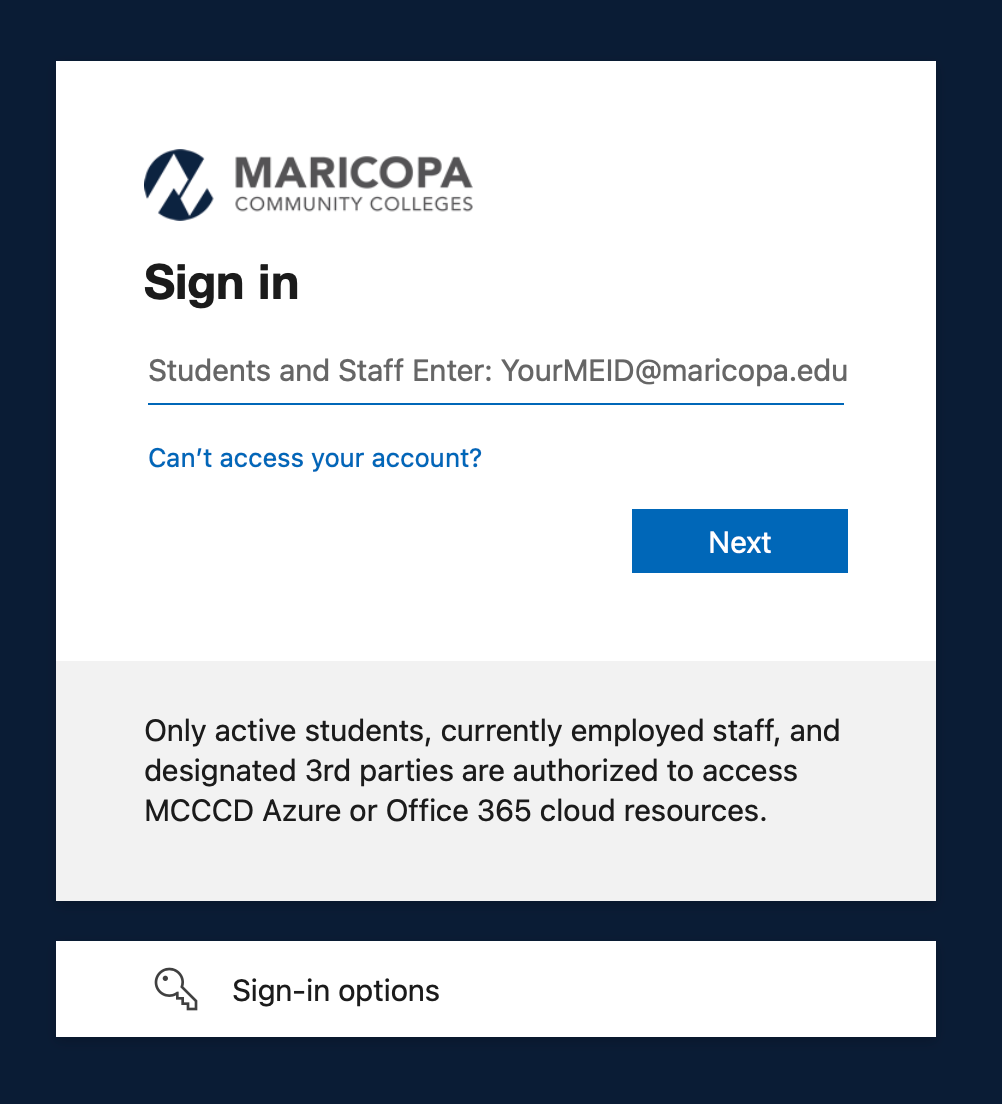
You will be redirected to the Maricopa login screen.
- Enter your MEID@maricopa.edu email
- Click Next, and enter your password
Using the same browser (current or new tab):
- Go to the SCC Faculty Directory
- Click the white arrow next to the user icon in the top-right corner
This will reveal the Login button. Click the Login button. This will redirect you to the Maricopa Technology Disclosure. Read the disclosure and click the Login with Google button to proceed.
Note: Sometimes Google displays an additional verification step that shows an email address you previously used. Acknowledge that this is your email to proceed with the login.
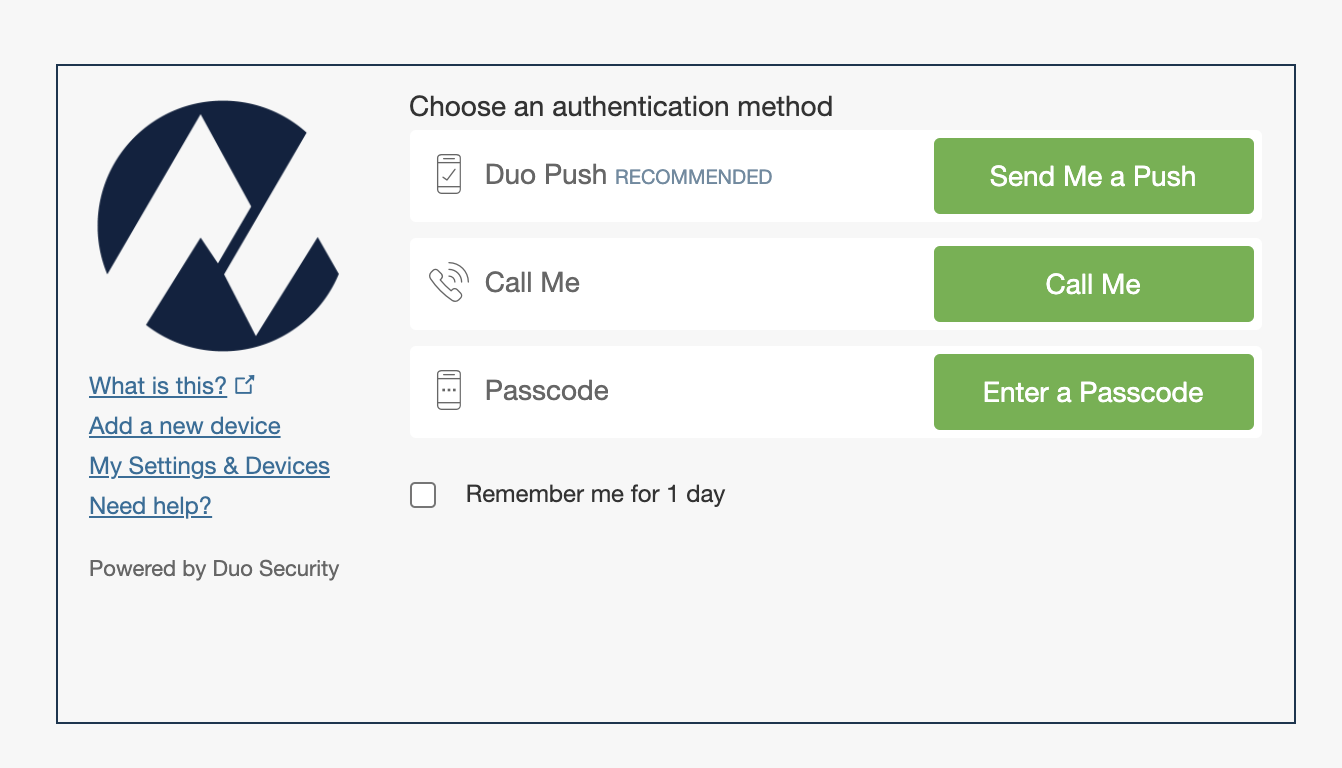
Click the Send me a Push button, and accept it on your mobile device.
If you see an “access denied” warning after clicking the button, it usually means you are already logged in. Return to your profile page by clicking the white login arrow in the upper-right corner, then click My account.

Edit your profile
These are the fields you can edit as faculty: Bio, Photo, Office Hours | Summer Hours, Downloads, Building and Room number, Phone number, Video, and Course Syllabus
Tip: Gather the information and files you need before you begin updating your page. After logging in, you will be taken directly to your user profile to edit your page. For a consistent user experience, please follow the formatting suggestions and save your page frequently.
Click the Edit as Faculty link to begin editing your webpage. The link is located above your name.

Best Practice:
- Refrain from using ALL CAPS
- Bold type is best used sparingly to call attention to key points
- Italic type is used for subtle emphasis
- Tables are used for tabular information, not layout
Add your photo by clicking Choose File and uploading your image.
- Please use a professional photo (headshot)
- Image size: 600 x 600px
- Under 650MB in size
- Upload a PNG or JPG
If your photo is larger than 600 x 600px, the image will be resized and cropped to a square. If your photo is smaller than 600 x 600px, it will be scaled up and become fuzzy. For the best results, size your image to 600 x 600px before uploading.
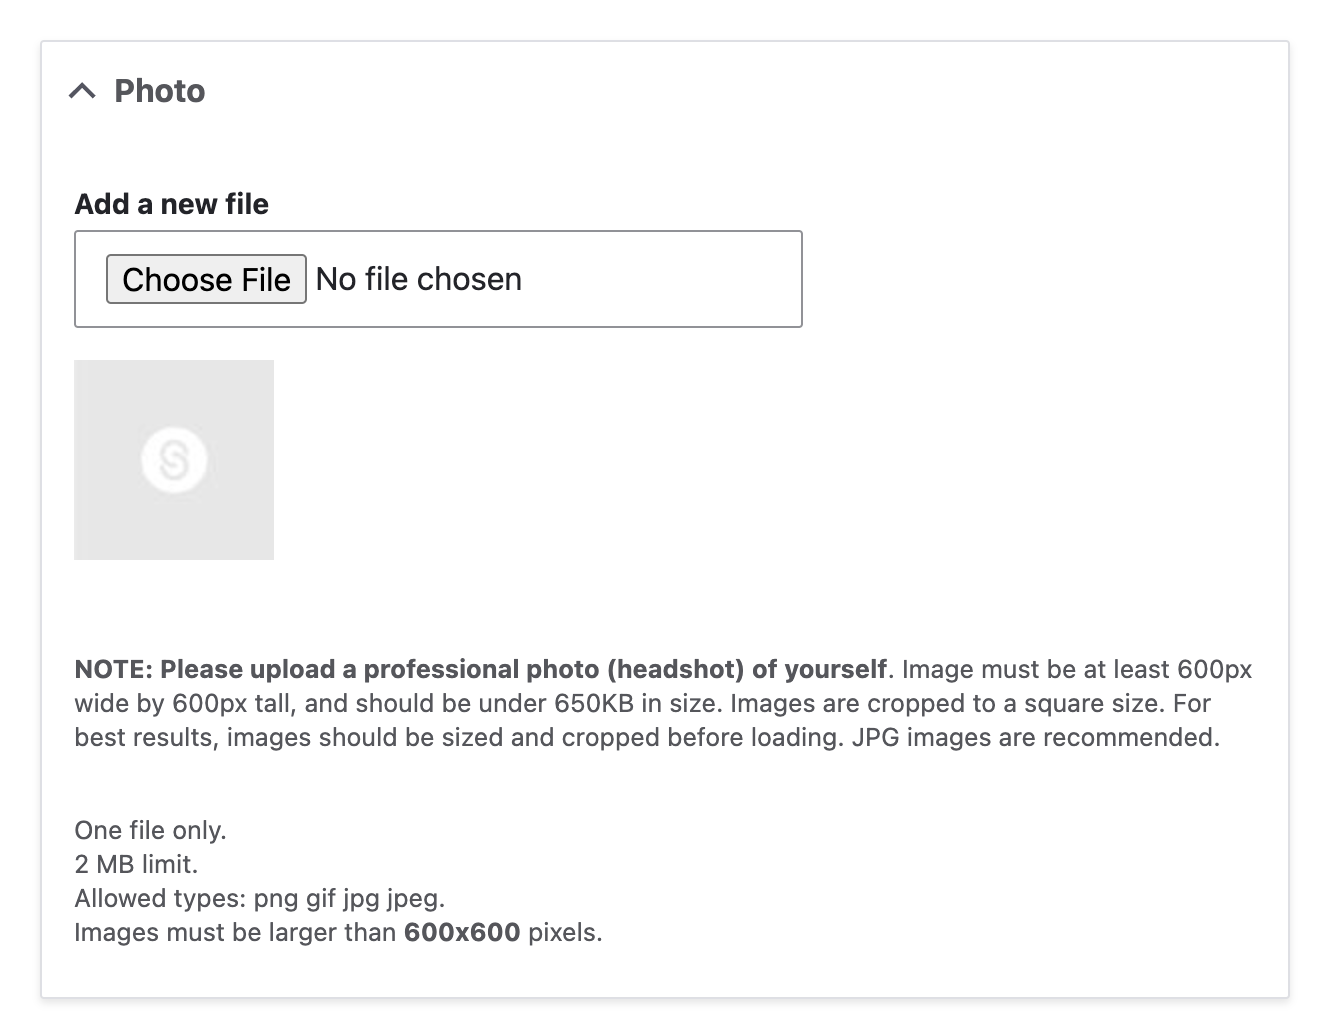
Accessibility Tip: Enter a description of your photo in the Alternative text field and your full name in the Title field.
This is where you can upload a PDF to display in the right sidebar on your webpage. After uploading your document, please enter a short title in the Description field. The text you enter in the Description field will display as the document title on your web page.
Accessibility Tip: Per Title II WCAG 2.1 Level AA requirements, your uploaded document must be accessible to all. Please ensure you only upload documents that pass the Accessibility Checker in Adobe Acrobat Pro.
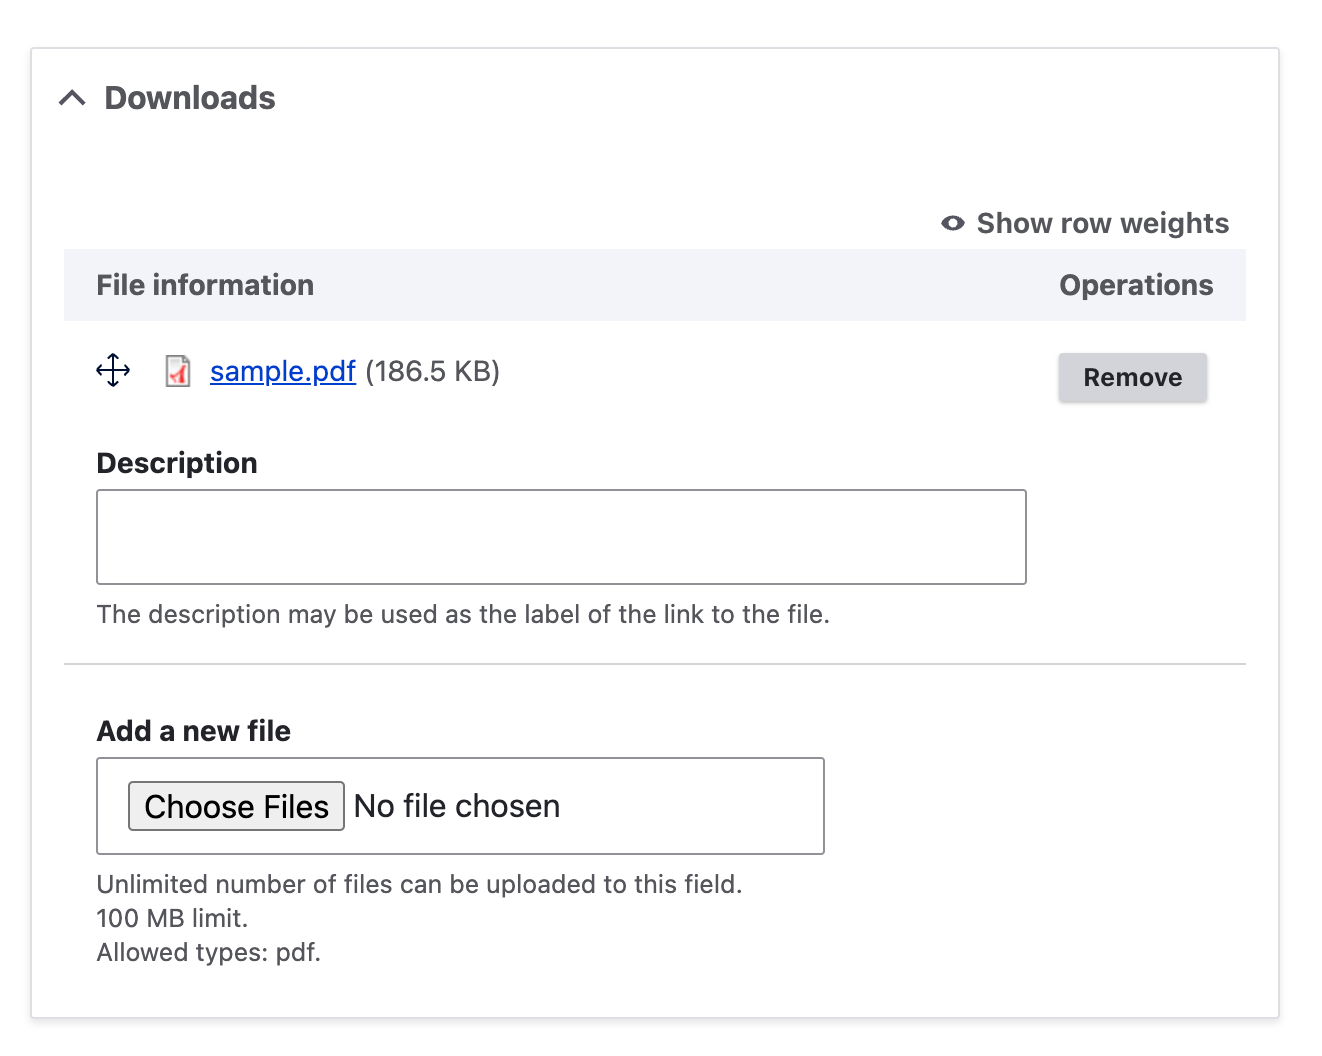
Repeat these steps for each document you upload, edit, or remove PDFs.
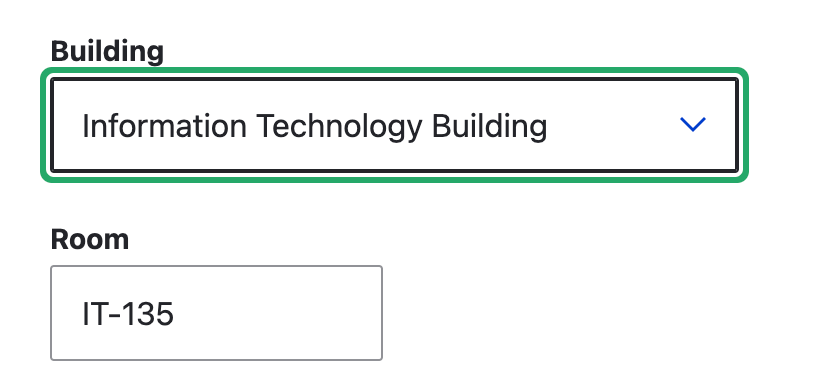
Select your building from the dropdown list. Enter your Room (office) number in this format: IT-135
To add a YouTube video, go to the page where the video is hosted.
Click the Share link and copy the link.
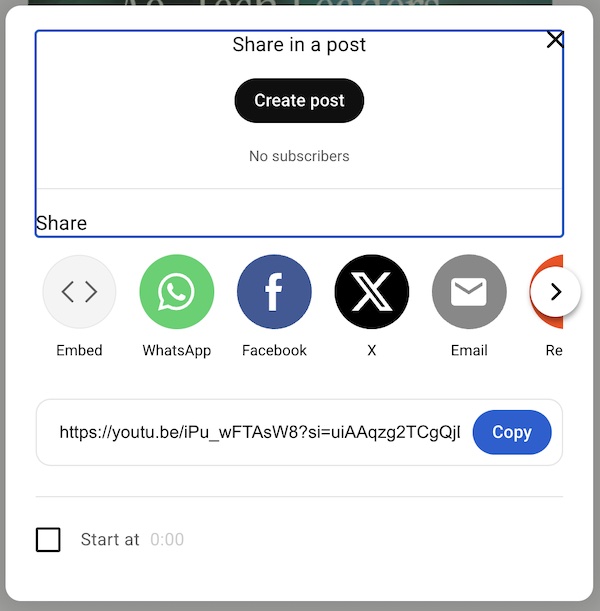
Paste the copied link into the Video field as shown below. Videos must be closed-captioned.

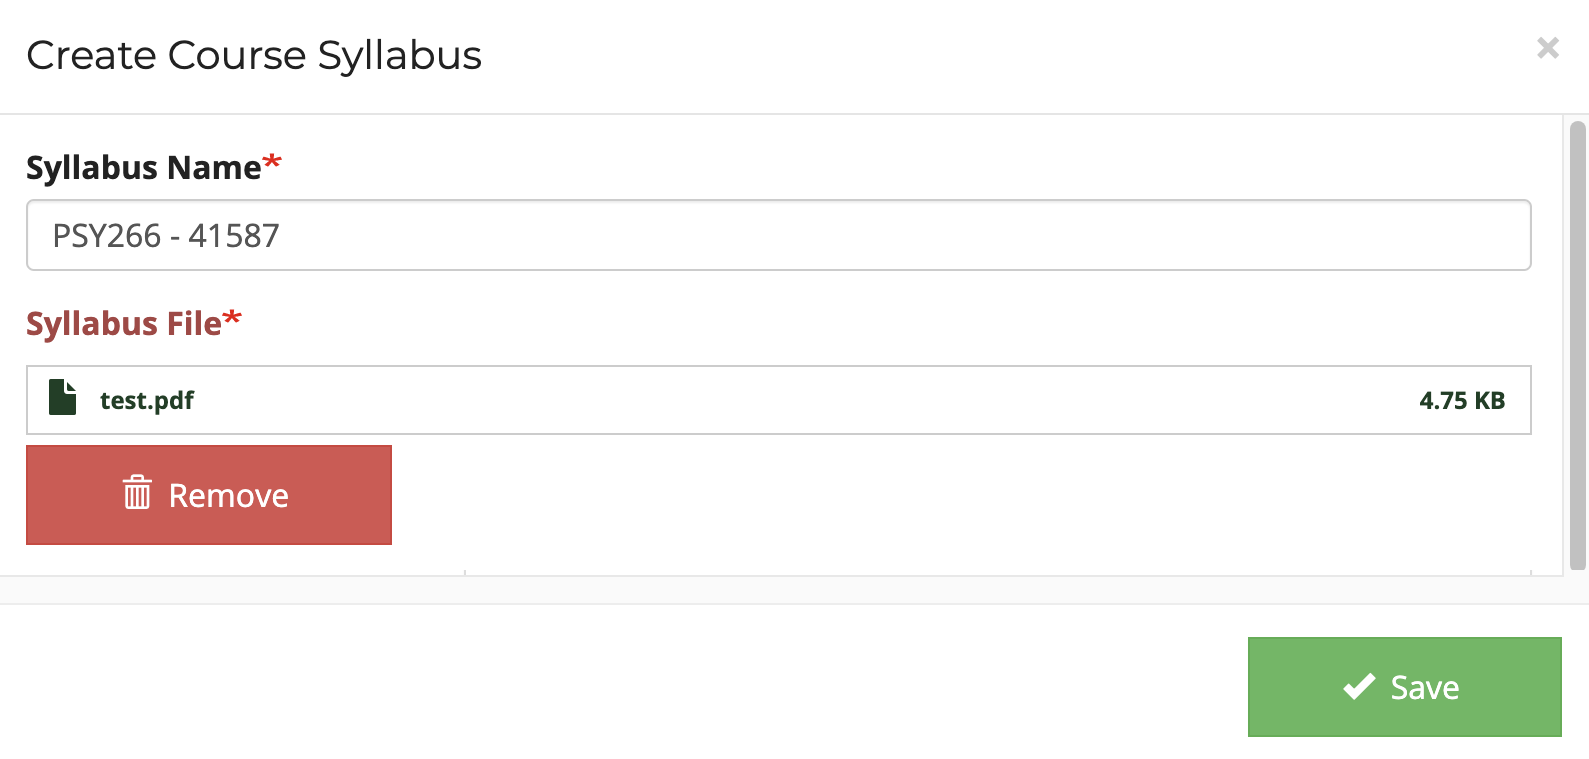
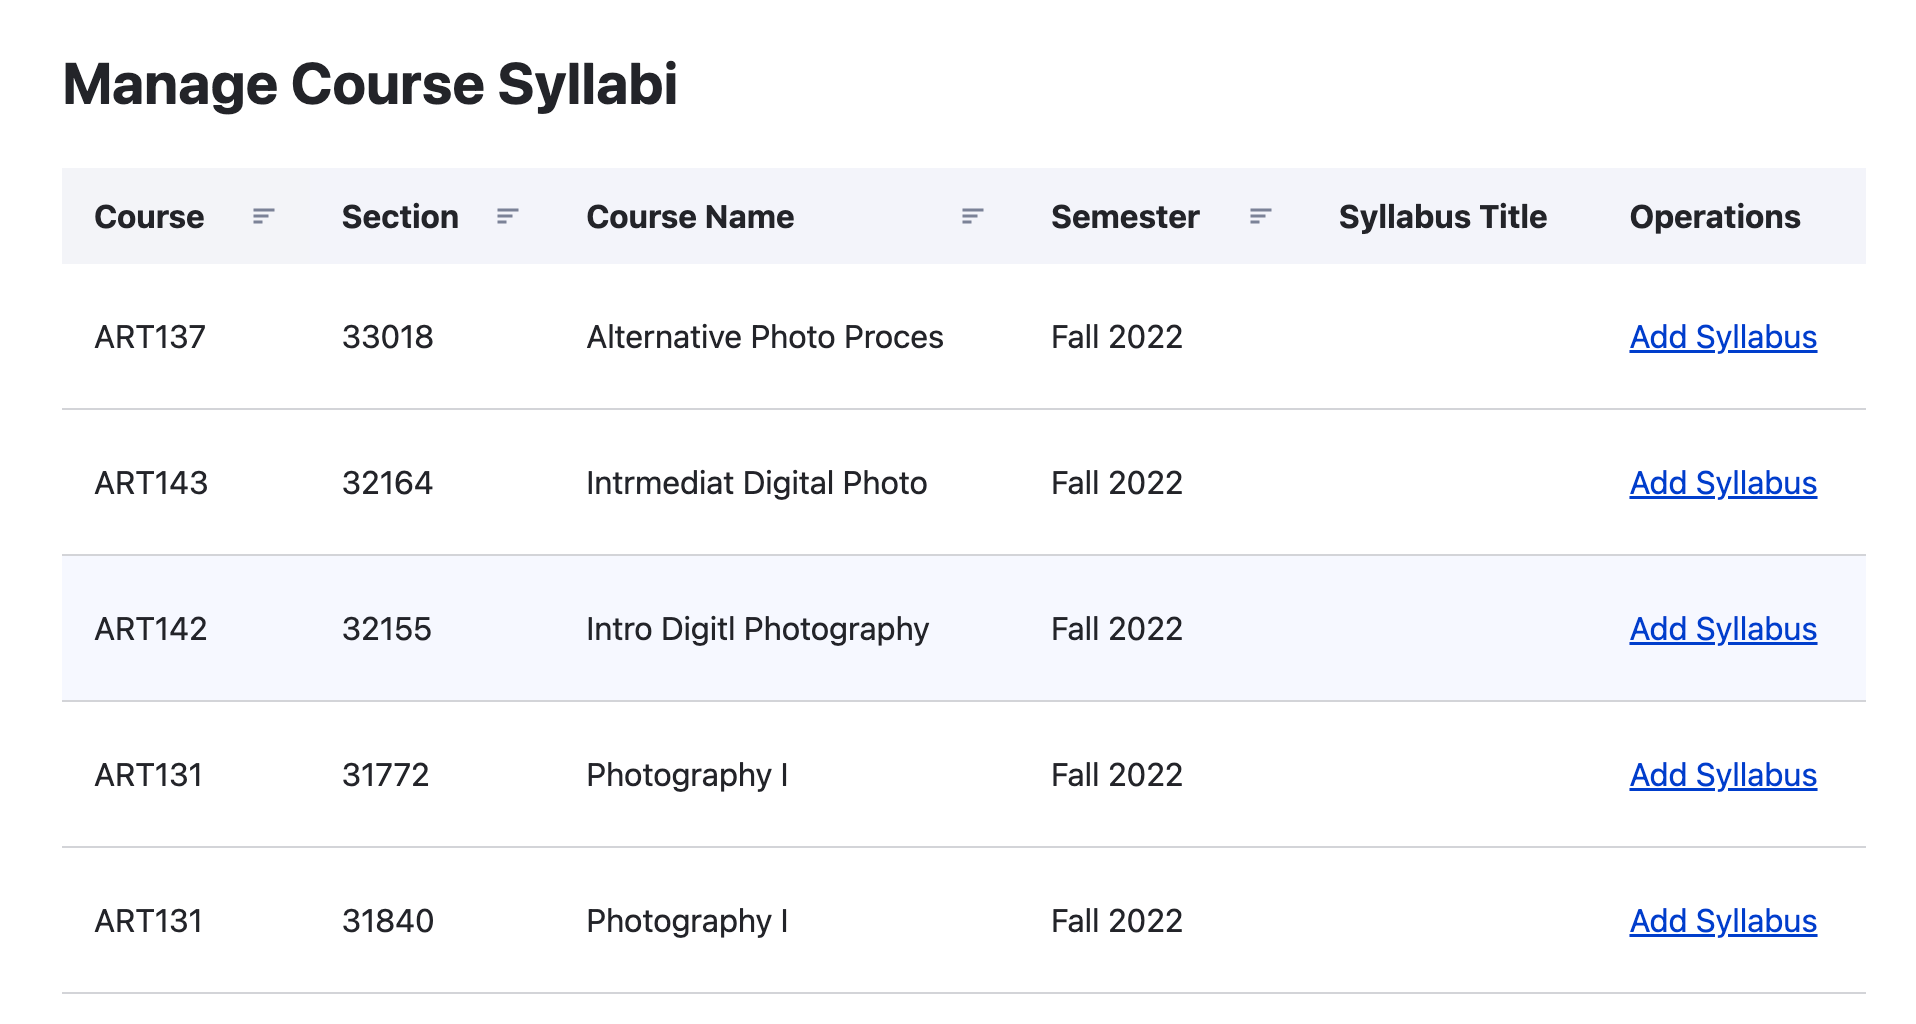
Attach a Course Syllabus
In the Edit as Faculty tab, scroll down to Manage Course Syllabi.
Click Add Syllabus to upload the syllabus for that class.
Enter the syllabus name using this naming convention: ENG101 - 12345.
The Syllabus Name displays as the PDF link. Consistent naming conventions improve the user experience.
Click Choose File to upload the course syllabus PDF.
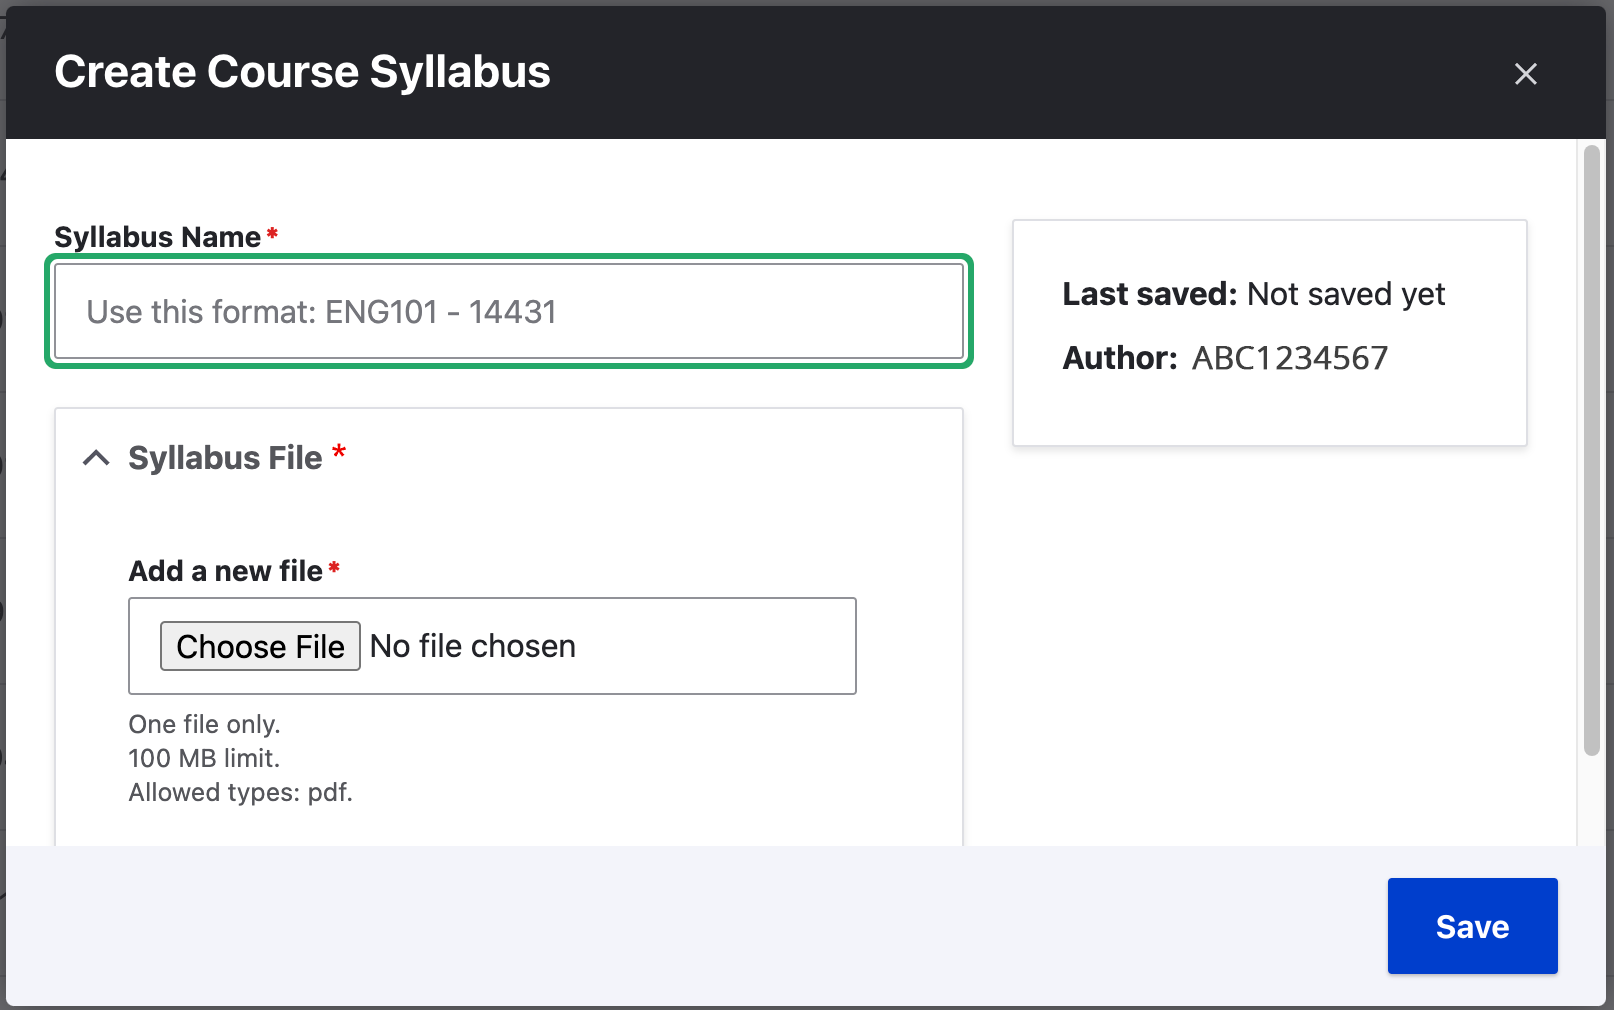
Accessibility Tip: Per Title II, WCAG 2.1 Level AA requirements, your uploaded document must be accessible to all. Please ensure you only upload documents that pass the Accessibility Checker in Adobe Acrobat Pro.
Click Edit Syllabus to edit the Syllabus Name, upload a new syllabus, or delete the syllabus.
Repeat these steps for each syllabus you wish to upload, edit, or remove.